
Choose the right beans for cold brew
Cold brew demands a different approach to bean selection than hot coffee. The long steeping time—typically 12 to 24 hours—extracts flavors slowly and thoroughly. If you choose the wrong roast or grind, the result can be unpleasantly bitter or watery. The goal is to select beans that hold their structure and flavor profile under prolonged immersion.
Dark Roast
Dark roasts are the traditional standard for cold brew. The extended roasting process breaks down many of the acids found in lighter beans, resulting in a smooth, chocolatey, and nutty cup. These beans stand up well to the long extraction without becoming overly acidic.
Medium Roast
Medium roasts offer a balanced approach, retaining some of the bean's original character while providing enough body for the cold brew process. They often yield a sweeter, more complex flavor with notes of caramel or fruit, making them ideal for those who find dark roasts too heavy.
Light Roast
Light roasts are less common for cold brew but can produce a bright, tea-like beverage with distinct floral or fruity notes. However, they require careful attention to grind size and steeping time, as they can easily become sour or under-extracted if not managed precisely.
| Roast Level | Flavor Profile | Acidity | Best For |
|---|---|---|---|
| Dark | Chocolate, Nutty, Smoky | Low | Traditional smooth cold brew |
| Medium | Caramel, Balanced, Sweet | Medium | Complex, all-day drinking |
| Light | Fruity, Floral, Tea-like | High | Bright, specialty cold brew |
The grind size is just as critical as the roast. CoffeeGeek recommends a medium to coarse grind. If the grounds are too fine, they will over-extract, leading to a bitter, muddy brew. If they are too coarse, the water will pass through too quickly, resulting in a weak, flavorless cup. The American Homebrewers Association also emphasizes coarse grounds to prevent sediment from clouding the final product.
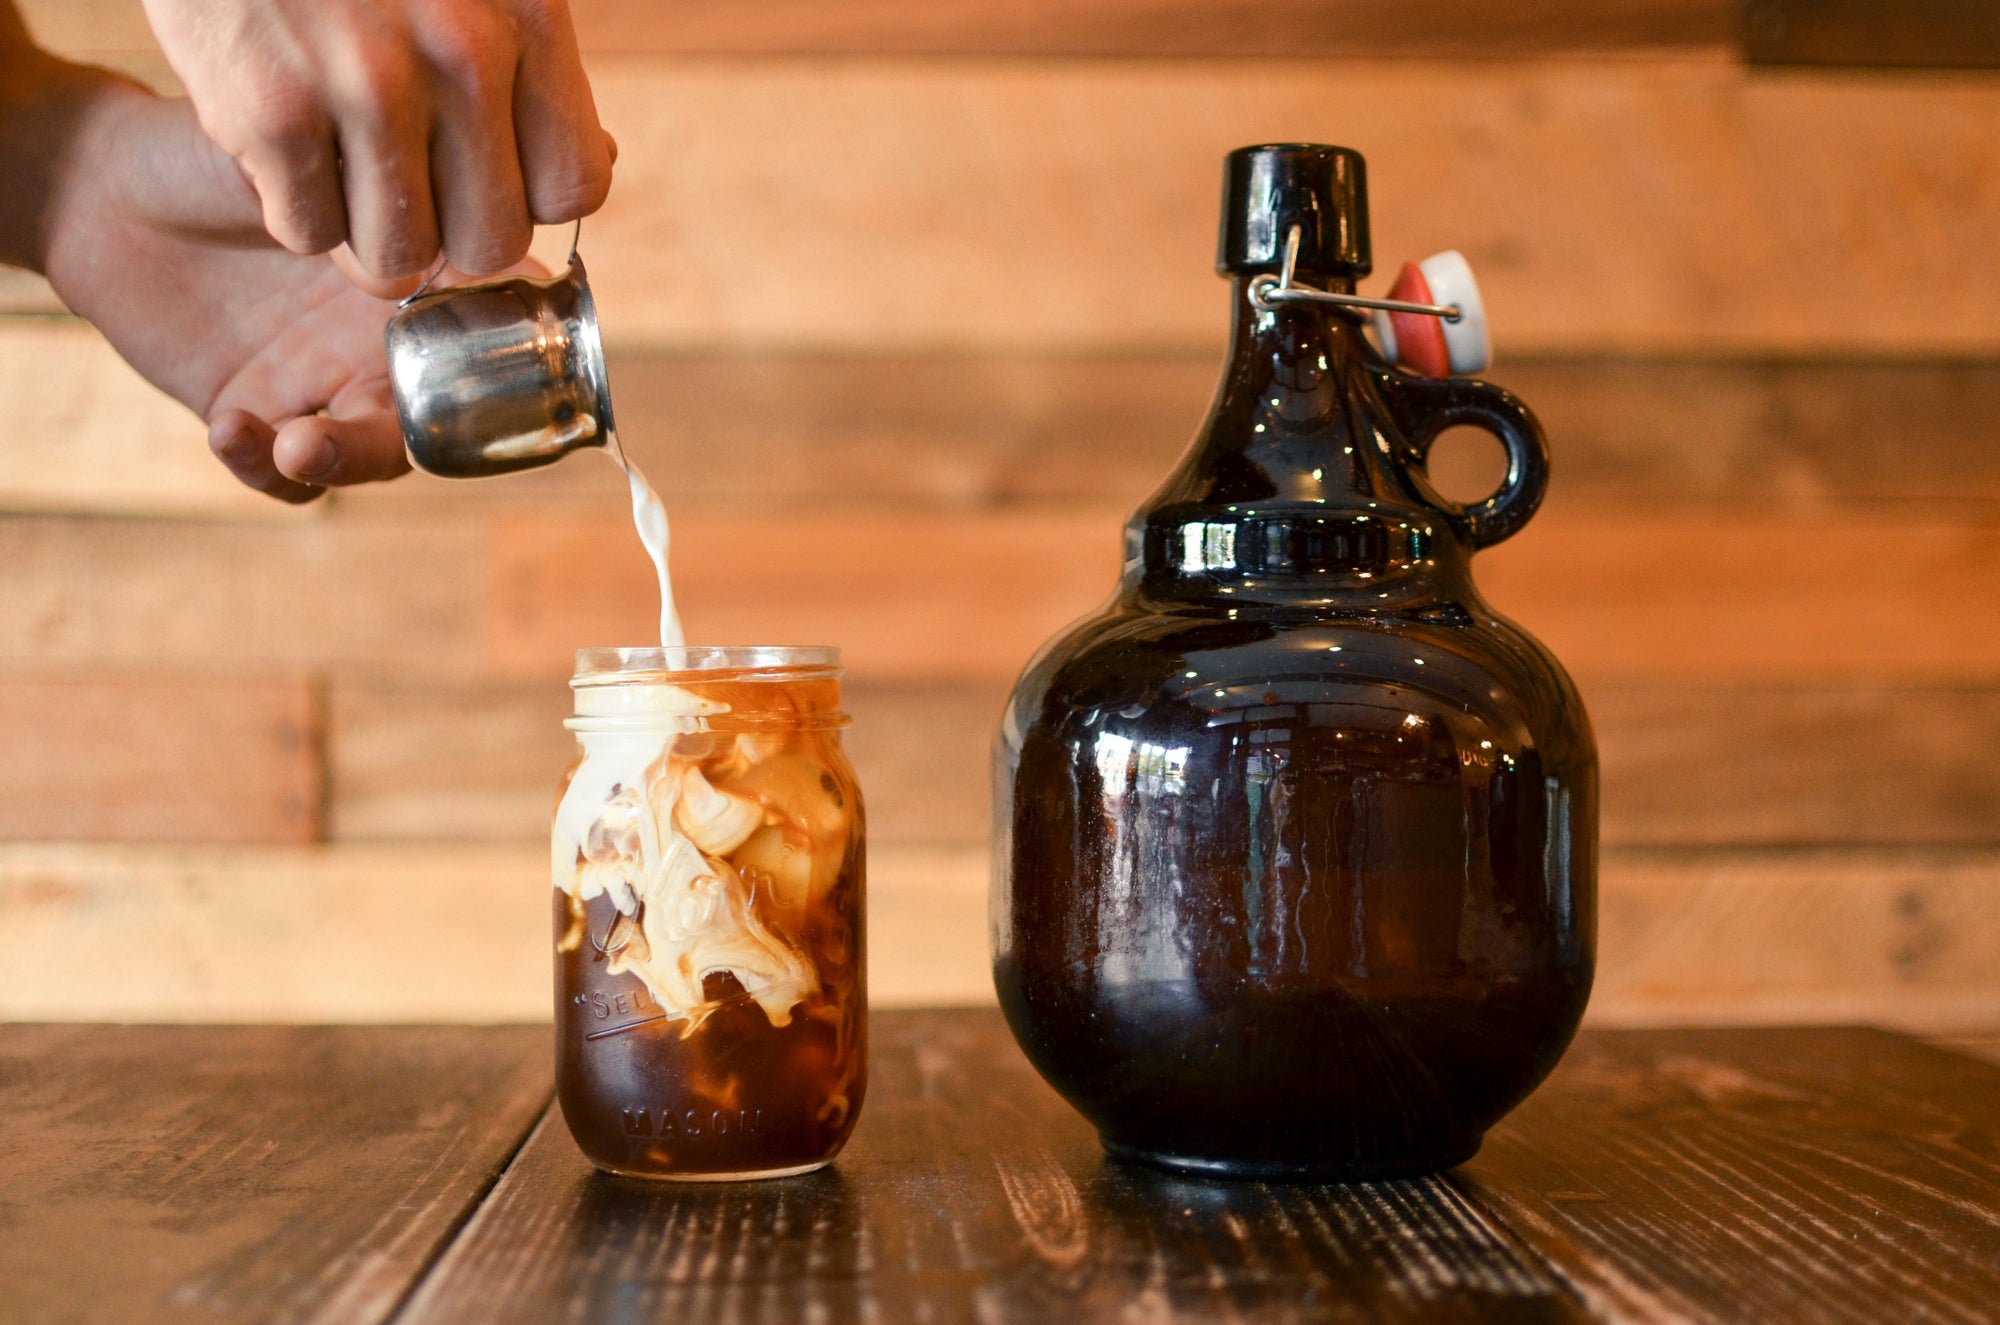
Classic Cold Brew Recipe
This method yields a smooth, low-acid concentrate that keeps well in the fridge for up to two weeks. Adjust the coffee-to-water ratio to suit your taste preferences, keeping in mind that a darker roast may require a slightly higher proportion of beans to achieve the same strength as a medium roast.
Set your coffee to water ratio
The difference between a thick concentrate and a ready-to-drink cup comes down to one number: the ratio of coffee grounds to water. Getting this right ensures you aren't left with a beverage that is either too weak to enjoy or so strong it tastes bitter and astringent.
Think of the ratio as a starting point rather than a rigid rule. It acts like a recipe base; you can adjust the salinity to taste, but you need a foundation to begin with. The two most common approaches are the concentrate method and the ready-to-drink method.
The Concentrate Method (1:8)
A 1:8 ratio is the industry standard for cold brew concentrate. This means for every 1 gram of coffee, you use 8 grams of water. The resulting liquid is intense and syrupy, designed to be diluted later.
This method offers maximum control. You can store the concentrate in the refrigerator for up to two weeks and mix it with water, milk, or ice on demand. This flexibility allows you to adjust the strength of each individual cup without altering the original brew.
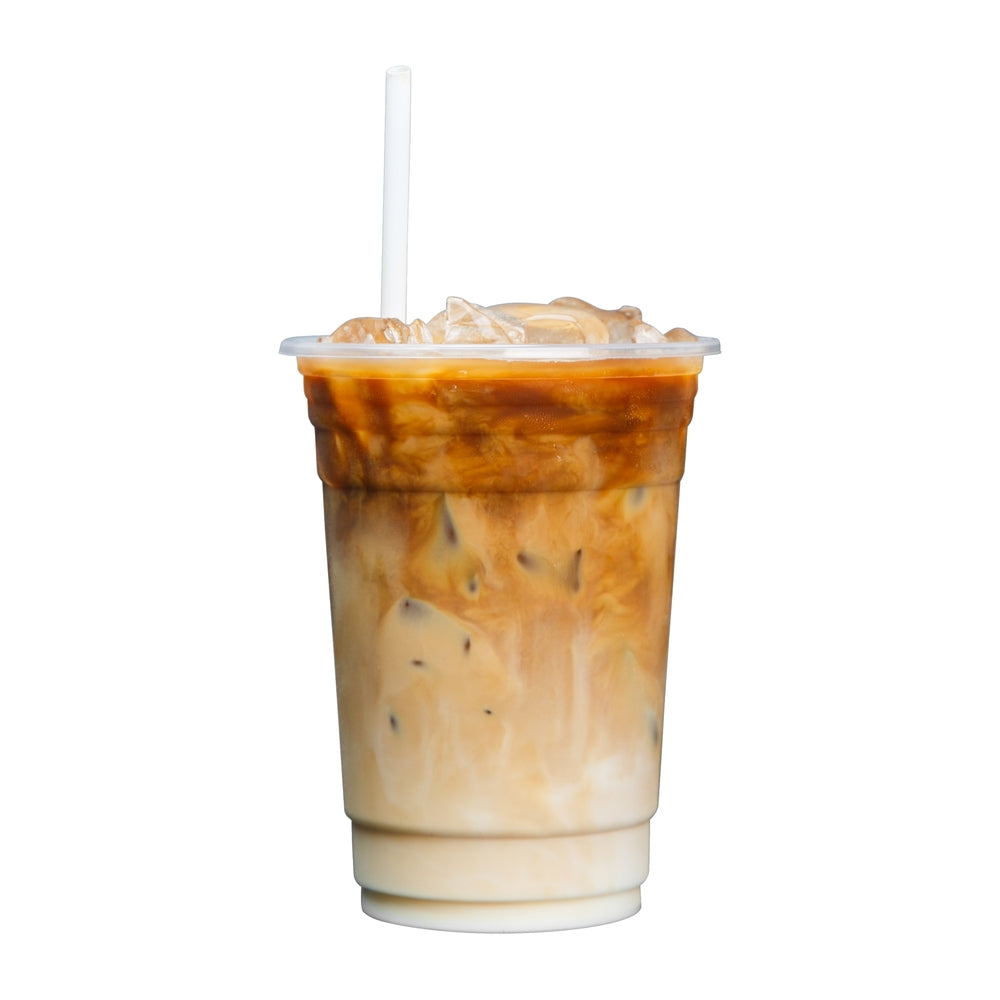
The Ready-to-Drink Method (1:15)
If you prefer to brew a full pitcher of coffee that is ready to drink immediately, aim for a 1:15 ratio. This uses significantly more water relative to the coffee grounds, resulting in a smoother, less intense flavor profile that mimics traditional hot coffee.
This approach is ideal for those who want to grab a glass and go without measuring out dilution. However, it lacks the versatility of concentrate. Once brewed, you cannot easily strengthen a weak cup, so precision in your initial measurement is critical.

Why grind size matters for cold brew
Grind size is the single most important variable in cold brew extraction. Unlike hot brewing, where water temperature drives the process, cold water extracts flavors much more slowly. This requires a coarser grind to control the surface area exposed to the water.
If your grind is too fine, the water pulls out bitter compounds and excessive acidity. The result is a harsh, astringent concentrate that tastes burnt, even if you used high-quality beans. Think of it like steeping tea: a tea bag (fine grounds) releases everything quickly, while loose leaf (coarse grounds) releases flavor gently over time.
A coarse grind ensures a clean, smooth texture. The larger particles allow the water to flow through the filter easily, preventing the sludge and grit that often ruin the mouthfeel of cold brew. Aim for a consistency similar to raw sugar or breadcrumbs. This balance allows the sweet, chocolatey notes to emerge while leaving the bitter tannins behind.
Use a burr grinder for the best results. Blade grinders chop beans unevenly, creating a mix of fine dust and large chunks. This inconsistency leads to uneven extraction, where some parts are bitter and others are weak. A burr grinder crushes the beans to a uniform size, ensuring every particle extracts at the same rate.
Most experts recommend a medium-coarse setting for standard cold brew. If you prefer a stronger concentrate, you can go slightly coarser and steep it longer. If you find your brew too weak, try a slightly finer grind, but avoid going too fine, as the bitterness will return quickly.
Steep time and temperature guide
Cold brew relies on time rather than heat to extract flavor. The steeping process is a slow dissolve, allowing water to pull oils and acids from coarse grounds without the bitterness that high temperatures bring. Getting the timing right is the difference between a smooth, chocolatey concentrate and a flat, over-extracted cup.
Set the timer for 12 to 24 hours
Most home brewers find the sweet spot between 12 and 18 hours. This window allows enough time for the water to saturate the grounds and pull out the desirable solubles while leaving behind the harsh tannins. If you steep for less than 12 hours, the coffee will likely taste weak and watery, lacking the body that defines cold brew.
Going beyond 24 hours rarely improves flavor and often leads to unwanted bitterness. The grounds continue to release compounds even after the optimal extraction point, so setting a timer is essential. Think of the steeping process like a slow-cooked stew; leaving it on the heat too long breaks down the flavors into something unbalanced.
Keep it cool and consistent
Temperature control is just as important as the clock. Store your steeping vessel in the refrigerator, where the consistent cold environment slows the extraction process. This chill prevents the coffee from becoming muddy or overly acidic, preserving the clean, bright notes of the beans.
While some brewers steep at room temperature, refrigeration offers more control. Room-temperature steeping happens faster and requires careful monitoring to avoid over-extraction. For most home setups, the fridge is the safest bet for a predictable, high-quality result every time.
Seal your vessel airtight and give it a gentle shake for 30 seconds. This ensures all the coffee grounds are fully saturated with water, preventing dry pockets that lead to uneven brewing.
Place the sealed vessel in the refrigerator. Let it sit undisturbed for 12 to 24 hours. The cold environment ensures a slow, even extraction that highlights the coffee's natural sweetness.
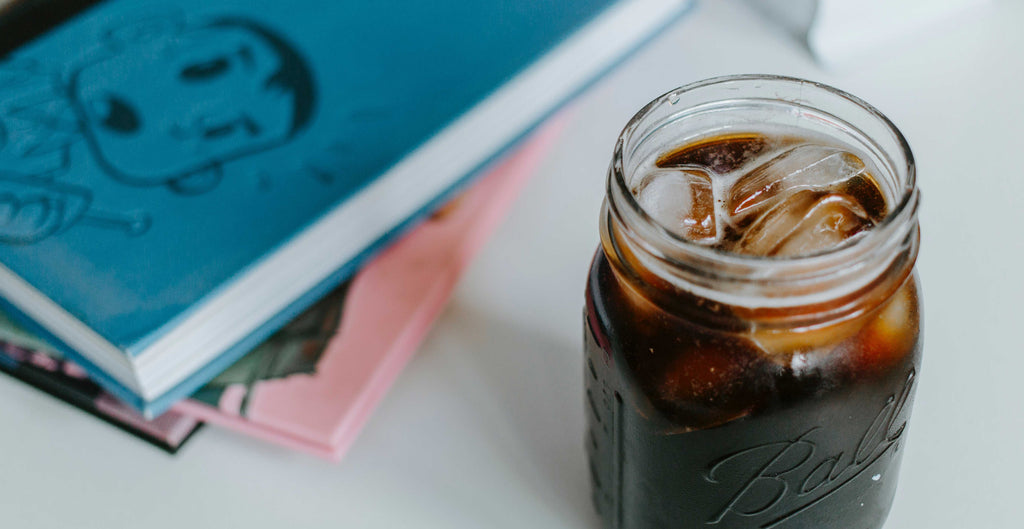
After the steep time is complete, strain the coffee through a fine mesh filter or cheesecloth. Remove all sediment, pour into a clean bottle, and store in the fridge for up to two weeks.
Strain and store your cold brew
The Cold Brew works best when the purchase path is explicit. Verify the source, compare the offer against real alternatives, check the total cost, and confirm what happens after payment before you decide. After each comparison, write down the one risk that would change your mind. If the seller, condition, support, warranty, shipping, or upkeep still feels uncertain, resolve that question before moving to checkout.
-
Verify the sellerCheck reputation, included details, delivery terms, and return policy before treating the listing as credible.
-
Compare total costAdd shipping, accessories, maintenance, warranty, and likely replacement costs to the listed price.
-
Confirm fitMatch the option to the real use case before paying for features that will not matter.
Watch a cold brew demo video
Visualizing the process helps clarify the ratio and grind size before you start. Watch this step-by-step demonstration to see how the grounds and water interact during the steep.
Frequently asked questions about cold brew
Cold brew coffee is simple to make, but the details matter for getting the flavor right. Here are answers to the most common questions about ratios, storage, and serving.
No comments yet. Be the first to share your thoughts!